

How to Fit an Opti-Fit Gullet
Simple and Quick Adjustment for the Right Fit
As your horse’s fitness & shape is ever changing, we have developed a system which allows the saddle to be custom fitted.
The versatile Opti-Fit System allows for the adjustment of your gullet to custom fit your horse, enabling optimal fit and comfort for your horse. This quick and easy gullet change can be done in a matter of minutes,
and altered throughout the lifetime of the saddle.
F I T T I N G
We recommend utilising a qualified saddle fitter to ensure your saddle fits perfectly; this will take into consideration your horse or pony’s changing development.
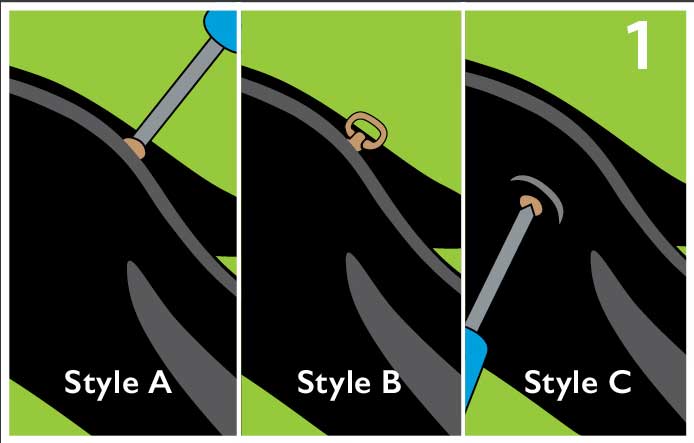
STEP 1
Style A: Check for the screws next to the fixed D-rings that are located on the topside of the saddle at the front and remove. If no screw present, refer to B.
Style B: Unscrew and remove the saddle D-rings that are located on the topside of the saddle at the front to release the panel.
Style C: Undo the two screws positioned on the underside of the saddle in the gullet area to release the panel.
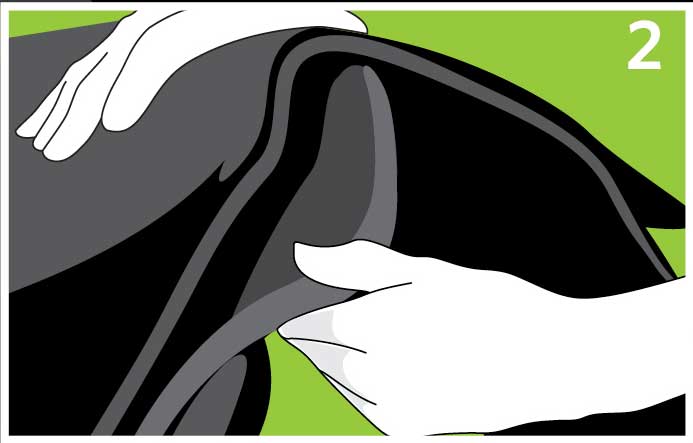
STEP 2
Style A & B: Release the panel post from the tree
and then pull down. This will free the tree points from
the pockets. Peel back leather cover (secured by touch
tape) to expose the gullet plate.
Style C: Place hands at the front of the panel and pull down. This will free the tree points from the pockets. Peel back leather cover (secured by touch tape) to expose the gullet plate.
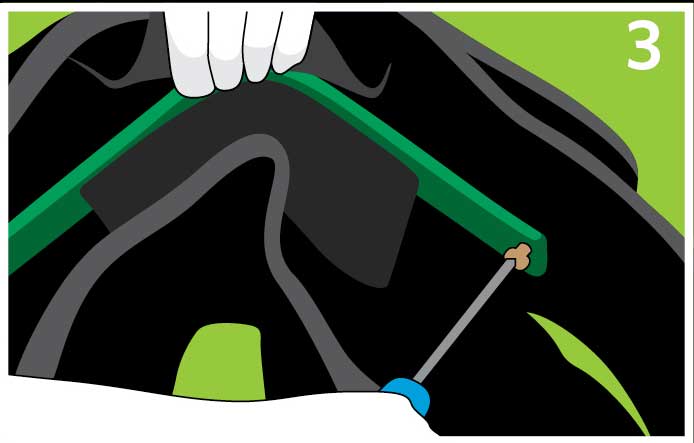
STEP 3
Undo the 2 screws positioned either side of the gullet plate.
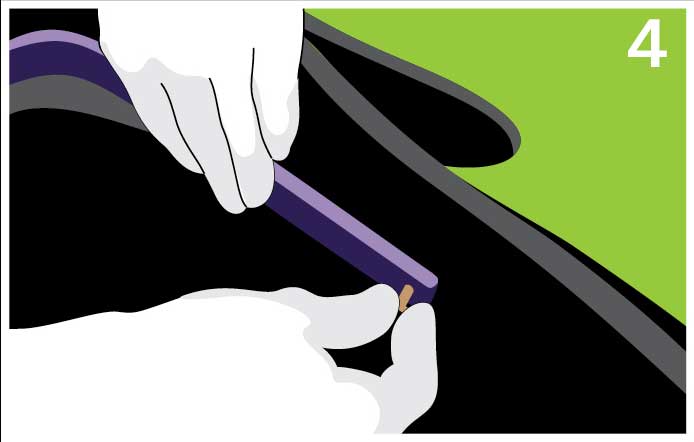
STEP 4
Change the gullet plate to the new size you need. Replace and slowly tighten each screw until the gullet is positioned correctly, making sure the holes are lined up and avoid cross threading the screw, then fully tightened.
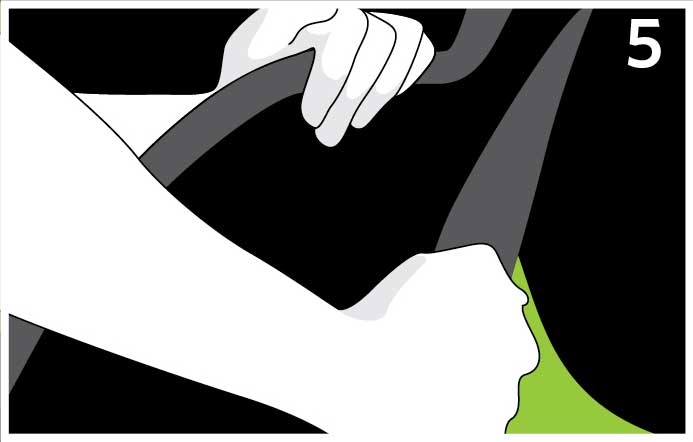
STEP 5
Style A & B: Close the touch tape at the front of the saddle. IMPORTANT, Refit the tree points into the panel pockets by manipulating them into position.
Style C: IMPORTANT, Refit the tree points into the panel pockets by manipulating them into position and then close the touch tape at the front of the saddle.
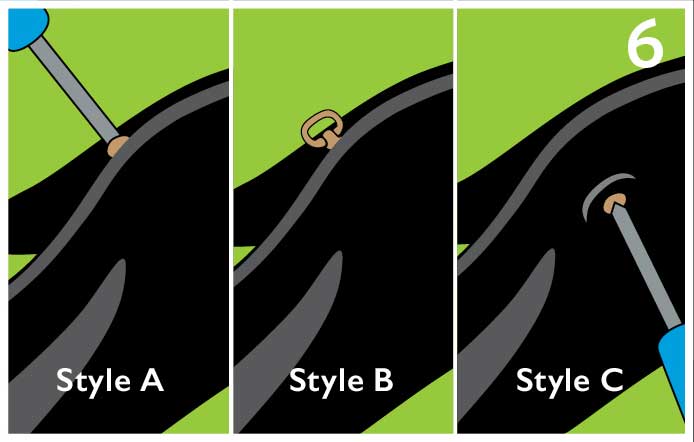
STEP 6
Style A & B: The panel post needs to line up with and go through the corresponding hole in each side of the tree. Use a locating device to make sure the post is straight before screwing the screw or front D-ring into place (avoid cross threading). Ensure they are firmly in place.
Style C: Line up the outside panel screws & screw into the panel (avoid cross threading), ensure these are firm.

*Gullet colors shown in diagram for visual purposes only. Gullet colors differ from diagram.